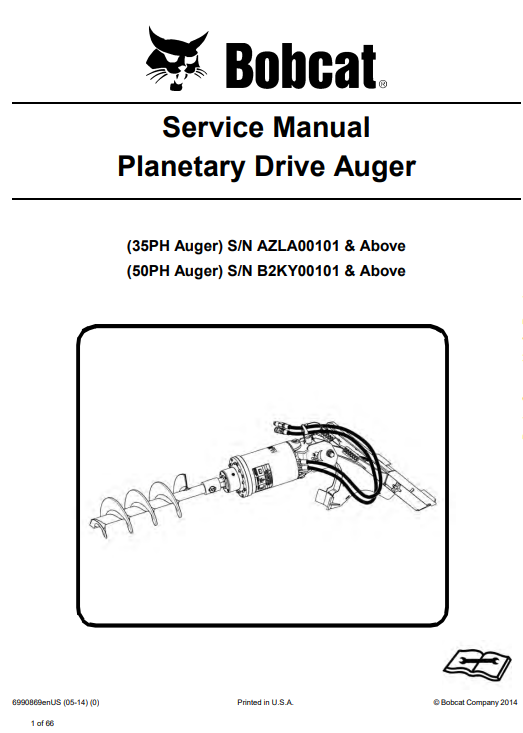
Bobcat Planetary Drive Auger Service Repair Manual
$5.00
Compatible Serial Numbers :
(35PH Auger) S/N AZLA00101 & Above
(50PH Auger) S/N B2KY00101 & Above
Description
Package Include
Bobcat Planetary Drive Auger Service Repair Manual
Language
English
Format
PDF
Total Number of pages
1-66
Publication Number
6990869enUS (May 2014)
Compatible
All windows and mac systems
Additional Requirement
User needs to Install PDF Reader Software
Shipping Policy
Download link by high speed web server Total Download size 2 mb
With This Original Factory Service Repair Manual The Technician can Find and Solve any problems encountered in the operation of your Bobcat Auger Models of :
Compatible Model : Bobcat Planetary Drive Auger
Compatible Serial Numbers :
(35PH Auger) S/N AZLA00101 & Above
(50PH Auger) S/N B2KY00101 & Above
Contents of this pdf service manual
SAFETY & MAINTENANCE
HYDRAULIC SYSTEM
SPECIFICATIONS
Understanding the Bobcat Planetary Drive Auger System
The Bobcat Planetary Drive Auger system is a vital component of Bobcat machinery, particularly suited for a wide array of excavation and drilling tasks. Its construction consists of multiple interconnected components including the motor, planetary gears, and the auger itself, all designed to work in unison to deliver powerful performance. The planetary drive mechanism enhances the efficiency and torque output compared to conventional drive systems. This makes the Bobcat Planetary Drive Auger particularly effective even in challenging soil conditions.
At the heart of the planetary drive is a set of gears that distributes the load evenly, thereby maximizing torque while minimizing wear. This distribution not only enables the auger to penetrate various soil types, from clay to gravel, but also ensures that the equipment operates smoothly under pressure. The reduction in gear size leads to a compact design, allowing easier maneuverability in tight spaces, which is often a requirement on job sites.
Different types of augers can be attached to the Bobcat Planetary Drive, featuring various tip designs tailored for specific applications, such as post hole drilling, tree planting, or fencing installations. Each auger design offers unique advantages, whether it be increased speed, depth capabilities, or improved cutting efficiency. Choosing the right auger for the specific soil conditions is crucial in achieving optimal results, as using an incompatible auger may lead to inefficiency or damage to the equipment.
In summary, understanding the intricacies of the Bobcat Planetary Drive Auger system equips users with the knowledge to efficiently operate their machinery. Awareness of its components and underlying mechanics plays a significant role in selecting the appropriate auger and ensuring better performance during excavation projects, thus achieving the desired outcomes effectively.
Step-by-Step Repair and Maintenance Procedures
Servicing and repairing the Bobcat Planetary Drive Auger involves a systematic approach to ensure long-lasting performance and reliability. Adhering to a comprehensive maintenance schedule is vital, which should include periodic visual inspections, lubrication checks, and assessments of wear parts. Routine maintenance should be conducted daily, weekly, and monthly, as dictated by the operating frequency and working conditions.
Daily checks should focus on examining the auger assembly for any visible damage or wear, particularly around the gear and drive components. Weekly maintenance includes inspecting the gearbox oil levels, replacing the oil if necessary, and ensuring that lubrication points are adequately serviced. Monthly maintenance intervals should prioritize a thorough inspection of all hydraulics and electronic components, checking for leaks or operational irregularities.
Common issues that users may encounter include gear wear, oil leakage, and drive engagement problems. When gear wear is suspected, it is crucial to compare the gear teeth with the manufacturer’s specifications to identify excessive deterioration. Oil leakage should prompt immediate action to detect the source and replace seals or gaskets. Drive engagement issues often point to hydraulic malfunctions or misalignment, necessitating a detailed check of the hydraulic system and alignment adjustments.
The disassembly of the auger starts by ensuring the machine is powered down and appropriately secured. Begin by removing protective covers, followed by disconnecting hydraulic hoses and electrical connections. Documenting each step can prevent confusion during reassembly. After disassembling, inspect all components meticulously and replace any faulty parts, including seals, bearings, or worn gears. Reassemble by reversing the disassembly steps, ensuring all parts align correctly and are secured properly. Regularly executing these steps will empower users to undertake basic repairs and maintenance, ultimately leading to reduced downtime and lower service costs.


